“Who sees the human face correctly: the photographer, the mirror or the painter?” -Pablo Picasso
Saturday, 9 June 2012
Tuesday, 29 May 2012
Name Tag for a Gift
I was gift wrapping a present for a friend and at the end was not happy with how it looked it missed something. A name tag! :) Thus I came up with this easy way of making a name tag. Here I will be demonstrating how to make a simple easy rose using a quilling technique.
Material needed:
Card stock (any colour, I have used yellow for the rose)
Scissors
Ruler
Glue
Quilling tool
1. Cut the card stock into these quadrilateral shape. You will need about 8-9 for one rose.
2. Use the quilling tool and curl both ends of the broader side of the quadrangle
3. Cut the narrow end of the quadrangle in the centre like shown in the photo and apply little glue and overlap the slit ends on top of each other. You have one petal! Make all the ten petals.
4. Cut a round shape of the card stock (usually the same colour but I am using a contrast colour here).
5. Now stick the petals one by one in concentric order like so.
6. Roll a loose strip and place it in the center of the rose.
7. Finally place the rose on a contrasting colour card stock and place it on the present like so. Doesn't it not look great!! :)
There are many ways to make roses using paper, here are some of them. Have fun!
Cards ,Crafts and Kids Projects
Kaisercraft
http://www.craftster.org/forum/index.php?topic=134959.0
Wednesday, 25 April 2012
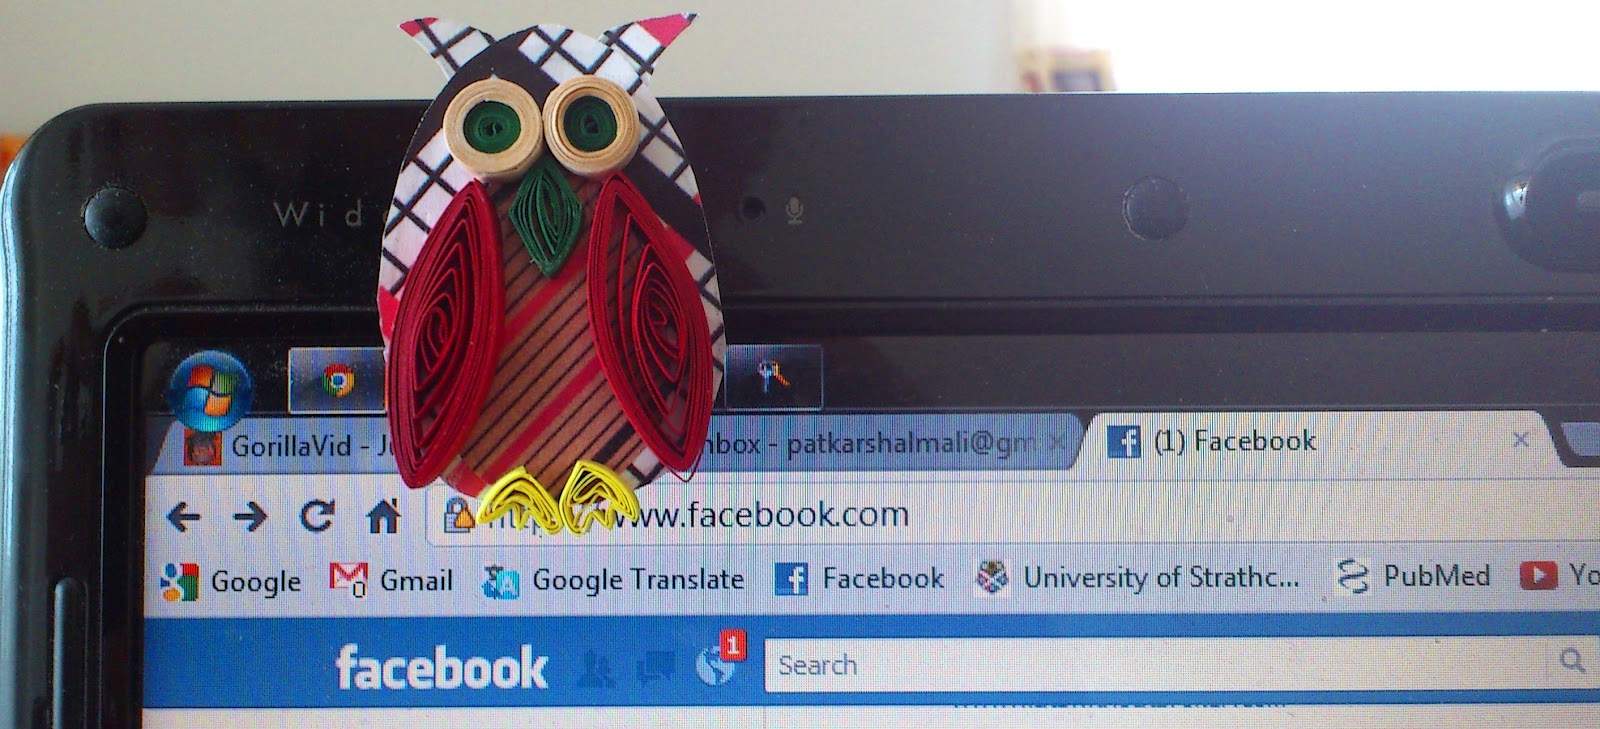
Owl on a Magnet
I must apologize, I have been busy with job applications and was on a long awaited holiday in Istanbul.
To get back into the groove, thought I must put my hands on something cute, simple and useful. I saw these owls made by Quilly Nilly for a great cause. I just loved the idea, who wouldn't; and I had a blast making them. Make a visit to Quilly Nilly's blog and donate for the great cause.
Each owl measures 1.5 (W) X 2 (H) inch (approximately). I have hand-cut the body shapes with contrasting paper stock, stuck each owl on a magnet and then quilled the accessories that make them so cute.
| Together... |
On my laptop, not too long though :))
Sunday, 18 March 2012
Photo frame with Royal & Chrysanthemum flowers
Back with a photo frame board decorated with royal flowers and chrysanthemums. Can be gifted to loved ones and they can make a box frame/ deep frame of their choice. I am sure the colours with their photograph will keep the memory fresh and bright.
Made this specially for my niece and nephew (twins) living in NYC.
![]() |
| Our photo taken last year at our housewarming party |
PS: Sorry for the not so good quality of pics.
Thursday, 8 March 2012
Gift Box- Gold & Red
I started with a wooden box and glazed it with some metal foil (gold) and thought of some bright red flowers to finish the look. One can use this box for practically anything; gifting chocolates, sweets, or for that matter precious memories. My favorite is as a jewellery box.
I wanted to personalize it slightly to fit an engagement gift for a dear one. Thus the Mr & Mrs. on the lid.
The leaves are spray painted with gold for a somewhat monochrome effect.
| Mr. & Mrs. |
The wooden box is about 5 inches in diameter and approx. 3 inches in height. I hope my dear one likes it when I gift it to her and will remember me fondly :)
PS: You can see there are patches of the gold metal foil. I have overlayed the foil in patches for a rustic look. The box is coated with a matt varnish to make weather resistant.
Wednesday, 29 February 2012
3D effect flowers
Isn't complete according to me. Any suggestions?? (I have a photograph attached of a draft for the same)
But had to share the 3D effect flowers. I have tried to use mono-theme (warm colours) except for the leaves. Have used 3mm strips of 24 inches to make each petal. Followed with tight rolls, and using the back of a pen (round end) shaped the petals giving a 3D effect. This is evident if you look closely at the buds.
These flower effects, if I am not wrong, were conceived by ManuK Please visit the blog for some exceptional work.
The leaves are particularly interesting, I have used the crimper on the dark green (3mm, 12-18 inches) first and then quilled loosely to form the inside. After which I have used light green to tight quill and shape the leaf. It is simple but look elegant.
| Complete composition |
| Close-up of the 3d effect and the crimped leaf |
My husband thought they were real flowers. I take it as a compliment :)
| Over-exposed photo |
The above photo which is over-exposed by choice has a lot of character, shows the shadows and highlights very beautifully.
| In the making |
Comments welcome!!!
Labels: paintings, paper art
3-D quilling,
flowers,
paper art
Friday, 24 February 2012
Royal flowers
I am in love with this new technique! It brings quilling to a higher level of intricacy and artistry.
It is originally demonstrated by Asma Ahmad Bahari: Royal Flower. And while you are at her blog browse through her wonderful collection of greeting cards!
So coming back to my project, I thought to myself, why not give these flowers my personal touch. And believe me they look beautiful and different each time you make them yourself. Maybe because of a different colour or different shape or maybe just your personal touch and passion for art. They look unique and elegant!!
Here is my composition of a greeting card using these pretty Royal flowers.
If you search for Royal flowers on Google you will see many different design one could do with the inside of the flower. As very rightly said, 'A man lives by imagination' - Henry Ellis
Have fun :) & do comment!!
Location: Zurich, Switzerland
Zurich, Switzerland
Subscribe to:
Posts (Atom)