Saturday, 8 March 2014

Silhouette Cameo first print!


I came across a blog by Ms Zapata called A Little Hut  and bought some of her printable cut-outs. I soon realized that cutting manually with a blade is just too painful more so when the designs were intricate. And that is where my hunt for an electronic cutter started. With months of speculation as to which cutter would suit my needs the most, I zeroed onto Silhouette Cameo. 

And before I could buy it myself my awesome, super cool husband Aditya bought it for me as one of my 12 birthday gifts (my big 3-0 birthday annual celebration - The deal is he gifts me every 27th of the month for a year :))!!

Anyways coming back to the Cameo..many of my friends asked me what it does, so here is to a small peek into the Silhouette Cameo.

It basically cuts a wide variety of materials including paper, vinyl, cardstock, fabric, heat transfer material, and so much more. The creative possibilities are endless with the Silhouette Cameo.

Here is a link from where you could buy it for Switzerland,


Below is my first cut using the Cameo, I have used a black 120gsm cardstock and the print was bought from a little hut, which I then made into a card...


Closer look

This is for all the lovely ladies out there... 
Wishing you a day that’s just like you… really special!
Happy Woman's Day!!


Tuesday, 7 January 2014

Making cards...

Making Cards (Usborne Art Ideas) by Fiona Watt, a book I bought when I was in Cambridge, UK (2007). I was somehow fascinated by the creativity that was so easy and simple to mimic and wondered why I had not thought of these before :).

Here are some of my compositions along with Ms. Watt's ideas incorporated!!

The book is available on amazon and I hope to put up some of the cards in form of tutorial in the near future, for now just the final version!


Hope you like them and can make some for your loved ones. :)

Saturday, 31 August 2013

Ganesha Sketch

With the Ganeshotsav round the corner hope everyone is in the festive mood. I was requested to design a poster for the Marathi Mandal Switzerland for their upcoming event Ganeshotsav! 

After a lot of thinking decided to give it a personal touch. Using a pen sketched the face of the Ganesha and filled it with delicate design. I will use it as the backdrop for the poster. Here is the Gajanan sketch!


                               May Lord Ganesh shower you with success in all your Endeavours.
Happy Ganesh Chaturthi!!!

PS: The poster should be available soon on public portals. :)

Thursday, 9 May 2013

Jewelry box: a mural of an owl!!!

Hello folks,
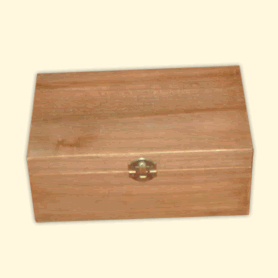
Wooden box from the local art shop
                I am back and this time with some mural work. I thought of creating an ''Owl sitting on a branch of a tree'' on a jewelry box.

Today I also thought I should share two secrets with you'll.
1. What material I use to make a mural and some tricks
2. Antique finish

I used a wooden box (bought from the local art shop). And worked on the mural by using ''M-seal'' (one could also use clay). I would recommend using clay for first timers since M-seal can dry faster, leaving less time to play around :). And then I used tools to shape the owl! Ex: the back of a marker pen for the eyes. A paper tool (rounded bone spatula) for the feathers.

Once the complete mural was done, I let it dry for a day.
For the antique finish, I gave a thick black coat to cover the complete box (it is important not to leave any crevice unpainted at this stage).

Finally I gave a coat of gold to the entire box except for the mural. For the mural, I gently brushed the gold to give an antique effect. Again it is important NOT to fill the crevices this time and leave some black spaces.

Voila an antique finish!! This is how it looked at the end.


This was gifted to a friend on her birthday! I hear she loves it and already has her best jewelry sitting in it.
Hope you get hands on some clay and try your first mural.
Good luck!

I have some special orders already! So keep an eye for some more soon :)

Saturday, 2 March 2013

Art class contd..


Some more of the confident strokes from my little kiddo!


Tuesday, 12 February 2013

Art class for kids (age group 5-7)

Hello folks! With the increasing amount of responsibility at work it is really hard to find time for art. Thus, I decided to dedicate some time to my passion by sharing it with kids (age group of 5-7).
I have had two classes of the same and here are some images of the art done by the kids.


Teaching kids is difficult since you have to have patience and a knack of making things easy and interesting. And I must admit that the web has been a boon. I would really like to thank ABC to drawing.


I really look forward to Monday evenings now just so that I can do something I love and enjoy.
Hope to share more stuff in the coming weeks.


Sunday, 18 November 2012

End the year with festive season...

Had the time to make some festive season greetings for friends over the globe.


Hope you all have a happy, healthy and prosperous year ahead!!
See you in the new year with more arty ideas..
S
xx

Thursday, 20 September 2012

Midnight Desire


A desperate desire for creativity in the middle of the night. 
The urge and determination was immense and it surprised me too as to how I could be awake in the middle of the night and show such ease in doing this piece which otherwise would be impossible for me. People who know me well know that ''early to bed and early to rise'', is my birth motto!! :)

All said and done, I am posting this for the pleasure of sharing the idea. Am not motivated now to explain how to do it. I am sure you have enough leads now from my previous posts, and my inspiration list, as to how things can be done!! More later.


                 Close-up of the flowers and leaves

    
 Close-up of the Bee 
At an angle


PS: I think the desire was also because I was gifting this frame to a frien (Ashish Arondekar and fly) when visiting the family for Ganpati (the elephant-head lord). Ganpati Bappa Morya!!!


Thursday, 23 August 2012

A Flowery Act!

I am glad, I had the motivation and time this weekend to open up the creative side in me.
Have been extremely busy with the new job, but I made it a point to get the arty stuff out from the attic and paint.
It's been long since I held a brush in my hand since most of my earlier posts comprise of paper quilling. 

And what else could I do with the brush other than one stroke painting. If you know me very well, it is one of my favorite techniques which, I guess, I have mastered to a certain level.

A bit of information for those who are unaware of this technique. In the early 1970’s, the name Donna Dewberry did not draw much attention in the Craft Industry in the States. A self-taught artist, she picked up different painting tips from wherever she could and “learned by observations”. Thirty years later, she is recognized throughout America, Europe and Asia as the innovative creator of the One Stroke painting technique.
So what is one stroke painting? It involves blending, shading and highlighting in one stroke of the brush. A very basic video of Donna explaining the technique here.

Recently, I had bought her book "Painting fabulous flowers". It has step-by-step instructions and pictures on how to paint all kinds of flowers. It has paintings of approx. 50 different flowers using this technique.


She has also categorized the flowers as garden flowers, flowering trees, shrubs & herbs, wildflowers , Tropicals and exotics.  I guess it is a great book to have in your library for mastering the art of one stroke.
I was beginning to fear that I had lost the art since it's been a while but after I went onto the second and the third flower I was happy.
Below is the painting I finally managed to create on the canvas :)


Saturday, 9 June 2012

Monogram R

Here is a monogram, I made using 3mm colored strips, for my niece's 5th birthday!!!
Wishing her a colorful  and bright future.

I did the basic outline first followed by all the detailed work and then outlined with the dark colored strip.

Hope you like it and can make it for loved ones.
Cheers

Tuesday, 29 May 2012

Name Tag for a Gift

I was gift wrapping a present for a friend and at the end was not happy with how it looked it missed something. A name tag! :) Thus I came up with this easy way of making a name tag. Here I will be demonstrating how to make a simple easy rose using a quilling technique. 

Material needed:
Card stock (any colour, I have used yellow for the rose)
Scissors
Ruler
Glue
Quilling tool

1. Cut the card stock into these quadrilateral shape. You will need about 8-9 for one rose.

2. Use the quilling tool and curl both ends of the broader side of the quadrangle


3. Cut the narrow end of the quadrangle in the centre like shown in the photo and apply little glue and overlap the slit ends on top of each other. You have one petal! Make all the ten petals.
  

4. Cut a round shape of the card stock (usually the same colour but I am using a contrast colour here).


5. Now stick the petals one by one in concentric order like so.


6. Roll a loose strip and place it in the center of the rose.


7. Finally place the rose on a contrasting colour card stock and place it on the present like so. Doesn't it not look great!! :)


There are many ways to make roses using paper, here are some of them. Have fun!
Cards ,Crafts and Kids Projects
Kaisercraft
http://www.craftster.org/forum/index.php?topic=134959.0

Wednesday, 25 April 2012

Owl on a Magnet

I must apologize, I have been busy with job applications and was on a long awaited holiday in Istanbul.

To get back into the groove, thought I must put my hands on something cute, simple and useful. I saw these owls made by Quilly Nilly for a great cause. I just loved the idea, who wouldn't; and I had a blast making them. Make a visit to Quilly Nilly's blog and donate for the great cause.

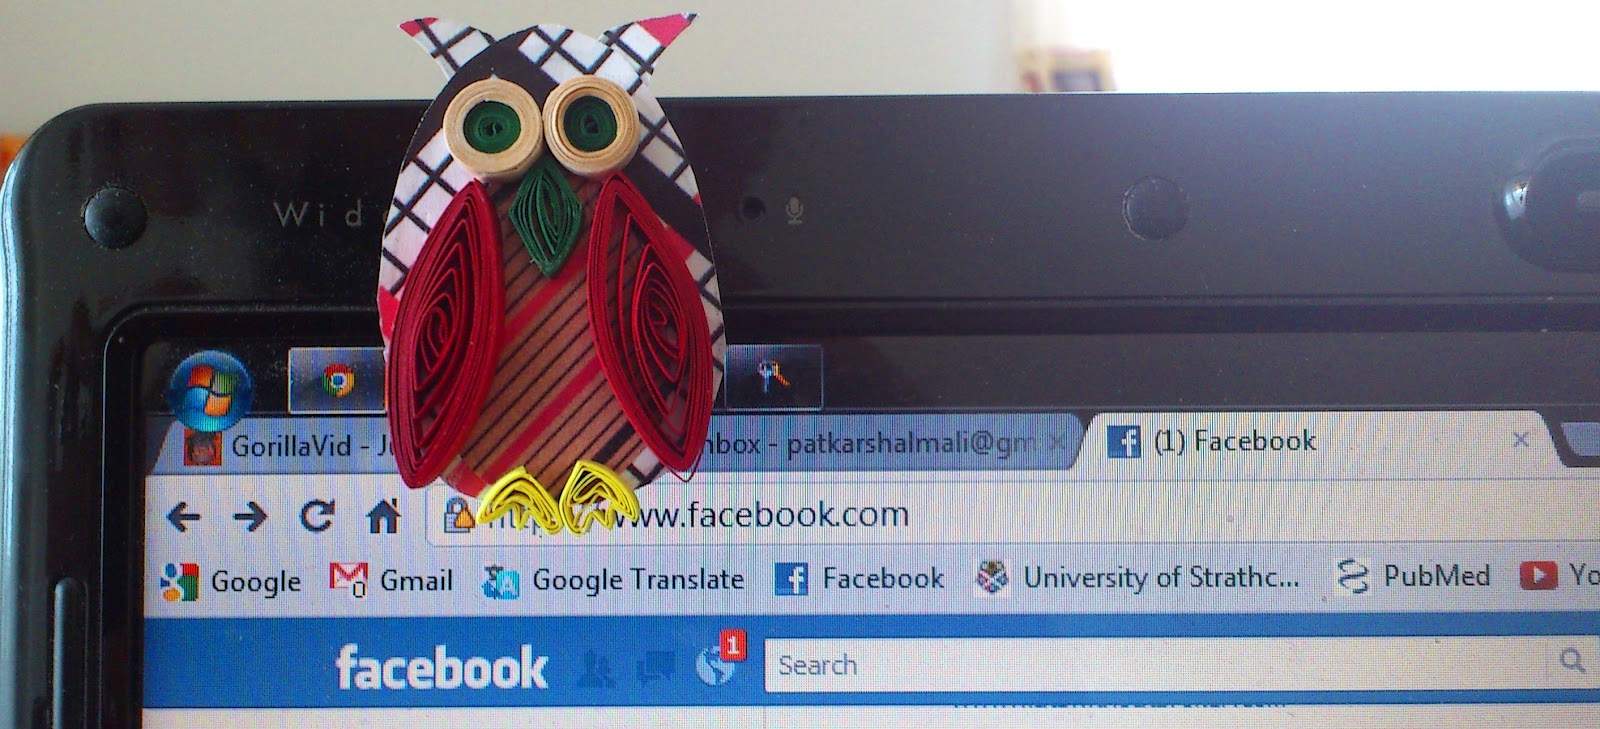
Each owl measures 1.5 (W) X 2 (H) inch (approximately). I have hand-cut the body shapes with contrasting paper stock, stuck each owl on a magnet and then quilled the accessories that make them so cute. 


Together...


On my laptop, not too long though :))


Sunday, 18 March 2012

Photo frame with Royal & Chrysanthemum flowers


Back with a photo frame board decorated with royal flowers and chrysanthemums. Can be gifted to loved ones and they can make a box frame/ deep frame of their choice. I am sure the colours with their photograph will keep the memory fresh and bright.
Made this specially for my niece and nephew (twins) living in NYC.


Our photo taken last year at our housewarming party

I think this frame will look complete with their photograph :). Hope to send it soon.
PS: Sorry for the not so good quality of pics.

Thursday, 8 March 2012

Gift Box- Gold & Red


I started with a wooden box and glazed it with some metal foil (gold) and thought of some bright red flowers to finish the look. One can use this box for practically anything; gifting chocolates, sweets, or for that matter precious memories. My favorite is as a jewellery box.

I wanted to personalize it slightly to fit an engagement gift for a dear one. Thus the Mr & Mrs. on the lid.
The leaves are spray painted with gold for a somewhat monochrome effect.

Mr. & Mrs.


The wooden box is about 5 inches in diameter and approx. 3 inches in height. I hope my dear one likes it when I gift it to her and will remember me fondly :)
PS: You can see there are patches of the gold metal foil. I have overlayed the foil in patches for a rustic look. The box is coated with a matt varnish to make weather resistant.

Wednesday, 29 February 2012

3D effect flowers

Isn't complete according to me. Any suggestions?? (I have a photograph attached of a draft for the same)
But had to share the 3D effect flowers. I have tried to use mono-theme (warm colours) except for the leaves. Have used 3mm strips of 24 inches to make each petal. Followed with tight rolls, and using the back of a pen (round end) shaped the petals giving a 3D effect. This is evident if you look closely at the buds.
These flower effects, if I am not wrong, were conceived by ManuK Please visit the blog for some exceptional work.

The leaves are particularly interesting, I have used the crimper on the dark green (3mm, 12-18 inches) first and then quilled loosely to form the inside. After which I have used light green to tight quill and shape the leaf. It is simple but look elegant.
Complete composition
Close-up of the 3d effect and the crimped leaf
My husband thought they were real flowers. I take it as a compliment :)

Over-exposed photo 
The above photo which is over-exposed by choice has a lot of character, shows the shadows and highlights very beautifully.
In the making
Comments welcome!!!